
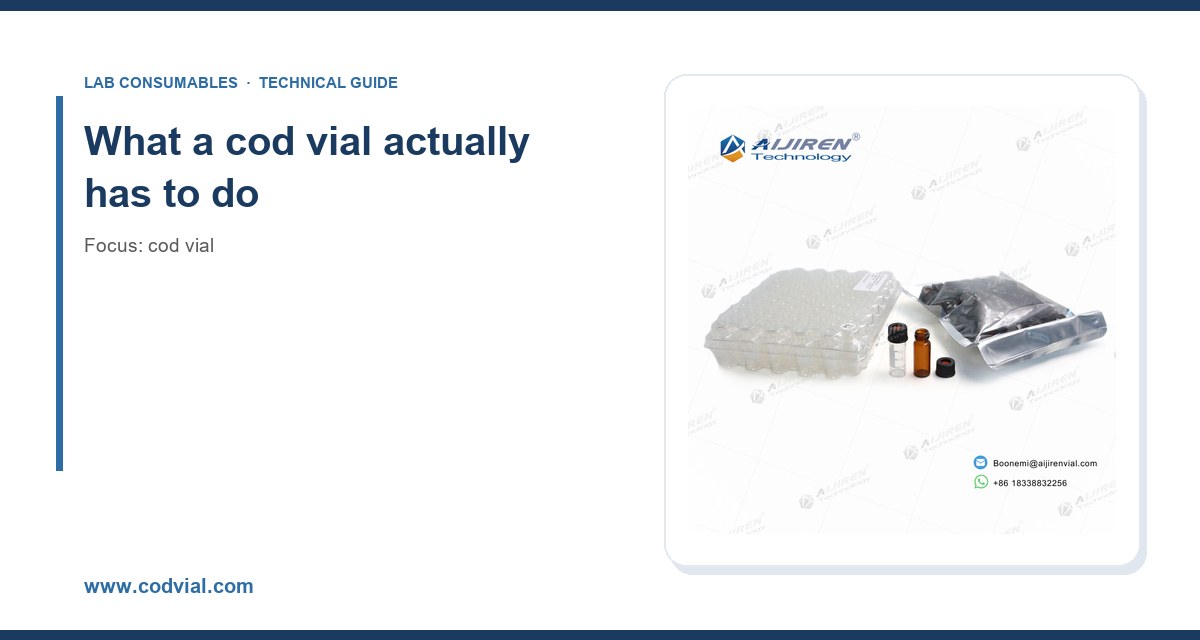
I have watched a technician lose a full day of sample prep to a cracked crimp neck. The vial had been sealed with a hand crimper using the wrong jaw setting, the aluminum seal bit into the glass shoulder at an angle, and the whole tray vented solvent overnight. The injection run was fine. The data was not. That is the thing about cod vials: they are cheap, boring, and almost invisible in the workflow until one of them fails and takes a sequence with it. Over the years I have bought them by the case, spec’d them into validated methods, and argued with suppliers about dimensional tolerances. This guide is what I wish someone had handed me when I started.
A quick note on terminology before we go further. “Cod vial” is the shorthand many of us use for the small-volume sample container used in gas chromatography, headspace, and purge-and-trap work, most commonly the 2 mL crimp or screw-thread vial that sits in an autosampler tray. The name varies by supplier and region. What matters is the physical interface: the neck finish, the seal geometry, the glass chemistry, and how the autosampler needle actually enters the septum. Get those four right and the vial disappears into the background. Get any one wrong and you spend the afternoon troubleshooting.
Strip away the catalog copy and a cod vial performs four jobs. It has to hold a defined volume with a known, repeatable headspace. It has to keep that volume sealed against evaporation and atmospheric ingress for the duration of the run, which might be 20 minutes or 48 hours on a refrigerated tray. It has to let a needle through the septum without coring, leaking, or dragging glass into the sample path. And it has to survive the temperature program without cracking, deforming, or leaching anything that shows up on the detector.
Each of those jobs maps to a spec. Volume and headspace map to the vial body dimensions and the fill line. Seal integrity maps to the closure type and the crimp or thread torque. Needle entry maps to septum material and thickness. Thermal survival maps to glass grade and expansion coefficient. If your supplier cannot give you numbers for all four, you are buying on trust rather than on spec, and trust does not survive an audit.
The dimensional standards you should be quoting
The 2 mL vial is not a free-form product. The dominant geometry in the industry is a 12 x 32 mm body with a 6 mm neck opening, and that geometry is what nearly every autosampler tray, heater block, and magnetic transport is machined around. The neck finishes fall under a couple of informal but widely honored standards: the 11 mm crimp neck, the 11 mm snap or crimp combination, and the 8-425 or 9 mm screw-thread neck. The GPI 8-425 and GPI 13-425 thread designations (Glass Packaging Institute) tell you the thread diameter and the thread finish number, and they are the reference you want on the drawing when you are comparing suppliers.
Why does this matter at the buying stage? Because a vial that is 0.3 mm out on neck height will still look right in the box and will still crimp, but the seal will not seat squarely and you will get evaporation. I have seen lots where the neck height drifted by 0.5 mm and the failure rate on a hand crimper went from roughly 1 in 200 to 1 in 15. The supplier’s certificate of analysis said the dimensions were in tolerance. The tolerance was simply wider than the autosampler cared about.
Crimp versus screw thread
Crimp vials give you the best seal per unit cost and the tightest headspace control. The aluminum seal deforms over the glass shoulder and holds the septum under consistent compression. The trade-off is that crimping is a skill, it is destructive (you cannot re-crimp), and the seal quality depends on the crimper being set up correctly. Screw-thread vials are reusable in principle, need no tooling, and are far more forgiving for short runs and method development. The trade-off is thread wear, inconsistent cap torque, and a higher risk of the septum backing out under pressure.
My rule of thumb: if the method is validated and you are running more than a few hundred injections a week, crimp. If you are developing methods, running small batches, or working with samples that arrive unpredictably, screw thread. If you are doing headspace or purge-and-trap, crimp almost always wins because the pressure cycling punishes a loose thread.
Where the 2 mL format fits
Most autosamplers are built around the 2 mL format, and the range of closures, septa, and inserts available for it is the widest. If you are standardizing a lab, standardize on 2 mL and stay there. The 2 mL sample vial page on our sister site has the dimensional drawings and closure matrix if you need to cross-reference part numbers. The exception is when your sample volume is genuinely tiny, in which case you are into inserts, which I will cover shortly.
Glass grade: the spec most buyers ignore
Not all borosilicate is the same, and the difference shows up on the chromatogram. The two grades you will see quoted are Type I borosilicate (borosilicate 3.3, expansion coefficient around 3.3 x 10^-6 /K) and Type III soda-lime glass. Type I is the default for analytical work because it is chemically inert, resists hydrolysis, and does not shed alkali ions into aqueous samples. Type III is cheaper and fine for many organic solvents, but it will leach at the surface over time, particularly with basic aqueous samples, and that leach shows up as sodium or potassium adducts in LC-MS work.
For GC and headspace, the glass grade matters less than the thermal history. A vial that has been improperly annealed will carry residual stress, and residual stress plus a temperature ramp equals cracking. I have seen trays of vials crack at 60 °C headspace oven temperature when the same lot had been fine at 40 °C. The glass was within dimensional spec. It was not within stress spec. Ask your supplier for the annealing documentation if you are running above 80 °C.
There is also the question of amber versus clear. Amber glass is coated or colored to block UV, which matters for light-sensitive analytes like vitamins, some pesticides, and certain pharmaceuticals. The coating can, in rare cases, flake or leach, so if you are running trace analysis on an amber vial, run a blank first. Clear glass is the default for GC because there is no light path to protect and no coating to worry about.
Septum selection: where most failures actually start
The septum is the part that touches your sample, your needle, and the atmosphere simultaneously. It is also the part most buyers treat as an afterthought. The two dominant materials are silicone and PTFE-faced silicone, with butyl rubber appearing for specific applications.
Silicone
Plain silicone is the workhorse. It is soft, reseals well, and handles repeated puncture. The downside is that silicone is permeable to oxygen and moisture over time, and it can absorb certain analytes (particularly nonpolar volatiles) which then bleed back into subsequent injections as carryover. For short runs and non-trace work, plain silicone is fine. For trace analysis, it is a liability.
PTFE-faced silicone
The PTFE face is a thin film bonded to the sample side of the septum. It gives you a chemically inert barrier that stops absorption and reduces bleed. This is the default for trace GC, headspace, and any method where carryover matters. The trade-off is that the PTFE face is thin (typically 0.1 to 0.2 mm) and can be punctured through if your needle is burred or your injection depth is set too deep. Once the PTFE is breached, you are back to plain silicone performance with none of the warnings.
Puncture counts
Here is a number worth remembering: a standard 11 mm silicone septum is typically rated for 50 to 100 punctures before reseal performance degrades. PTFE-faced septa are often rated lower, around 30 to 50, because the face is the weak point. Pre-slit septa trade seal integrity for needle guidance and are useful on autosamplers with poor needle alignment, but they leak more and should not be used for headspace. If you are running a long sequence, change the septum on a schedule rather than waiting for a failure. I change every 50 injections on trace work and every 100 on routine work, and I log it.
Needle gauge and septum thickness
A 23 gauge needle (0.64 mm OD) is the common autosampler size and pairs well with a 3 mm thick septum. A 26 gauge needle (0.46 mm OD) is finer and reseals better but is more prone to bending. If you are using a 22 gauge needle, you need a thicker septum or you will core it. Coring, where the needle punches a plug out of the septum, is the single most common cause of “mystery” peaks in GC. Check your septa for a clean hole, not a ragged one, after every run.
Inserts and the small-volume problem
If your sample volume is under about 200 µL, a standard 2 mL vial wastes most of it and gives you poor injection repeatability because the autosampler cannot reliably draw from a shallow pool. This is where inserts come in. A 150 µL or 250 µL glass insert sits inside the 2 mL vial and concentrates the sample into a drawable column. The vial insert range covers the common geometries, including the conical and the pulled-point designs.
Two things to watch. First, the insert has to match the vial. A 150 µL insert in a vial with a slightly narrow neck will not seat, and the autosampler will either miss the sample or crush the insert. Second, the insert adds a dead volume at the bottom that you cannot draw from, typically 5 to 15 µL depending on the point geometry. If you are pipetting 50 µL into a 150 µL insert, you need to account for that dead volume in your recovery calculation or your results will read low.
Temperature ratings and thermal cycling
Standard borosilicate 2 mL vials are rated for autoclave and oven use up to around 120 °C for short exposures, but the practical limit for a sealed vial is set by the septum and the seal, not the glass. Silicone septa start to soften and lose reseal performance above about 80 °C, and the aluminum crimp seal will relax if you cycle it repeatedly. For headspace work at 80 to 150 °C, you want a septum rated for the temperature and a crimp seal that has been set with a calibrated crimper, not a hand tool.
For cryogenic work (some GC inlet programs, some biological sample storage), the limit is the glass, not the seal. Standard borosilicate handles -80 °C storage fine. Repeated freeze-thaw cycles are what crack vials, because the sample expands and contracts against a rigid glass wall. If you are freeze-thawing, leave headspace and use a vial rated for it.
Crimp torque and the tooling question
This is where I get opinionated. A hand crimper is a tool for occasional use and method development, not for production. The reason is torque consistency. A properly set crimper applies a defined crimp height and a defined radial compression, and the seal deforms symmetrically. A hand crimper depends on the operator’s grip, and the variation between operators is large enough to show up as evaporation failures. If you are running more than a few hundred vials a week, buy a pneumatic or electronic crimper and calibrate it. The setpoint you want is the one that gives you a seal that holds pressure without cracking the neck, and the way to find it is to crimp a test vial, pressurize it, and check for leaks. Most suppliers will give you a recommended crimp height in millimeters. Use it.
For screw-thread vials, torque matters too. Over-tightening deforms the septum and can crack the cap. Under-tightening leaks. A reasonable target for a 9 mm screw cap is hand-tight plus a quarter turn, which is roughly 1.5 to 2.0 N·m if you are using a torque tool. If you are capping by hand, be consistent, and check a sample of caps with a torque wrench once a week.
The buying decision checklist
Here is the comparison I use when a lab asks me to spec a vial. It is not exhaustive, but it covers the decisions that actually change the outcome.
- Volume and format: 2 mL, 12 x 32 mm, 6 mm neck for standard autosamplers. Drop to a 150 µL or 250 µL insert for sample volumes under 200 µL.
- Closure: 11 mm crimp for validated, high-throughput, and headspace work. 8-425 or 9 mm screw thread for method development and small batches.
- Glass grade: Type I borosilicate 3.3 for all analytical work. Type III only for non-critical organic solvent storage.
- Color: Clear for GC and general work. Amber for light-sensitive analytes, with a blank run first.
- Septum: PTFE-faced silicone for trace and headspace. Plain silicone for routine. Pre-slit only where needle alignment is a known problem, never for headspace.
- Septum thickness: 3 mm for 23 gauge needles. Thicker for 22 gauge. Replace every 50 injections on trace work.
- Temperature rating: Confirm septum and seal rating for your oven program, not just the glass. Above 80 °C, use a high-temperature septum and a calibrated crimper.
- Documentation: Certificate of analysis with dimensions and glass grade. Annealing documentation if running above 80 °C.
- Tooling: Pneumatic or electronic crimper for production. Calibrated torque tool for screw caps.
- Consumables supply: Match septa and seals to the vial lot. Mixing lots is a common source of seal failures.
Where the consumables ecosystem fits
Nobody buys vials in isolation. You buy vials, septa, seals, caps, and inserts as a system, and the system has to be internally consistent. The cod vial range on our main site is organized around that idea: the vial, the closure, and the septum are specified together so you are not mixing a 11 mm seal with a 9 mm cap because the part numbers looked similar. If you are building out a full method, the HPLC consumables catalog covers the adjacent fittings, filters, and tubing that share the same sample path.
For cross-referencing against instrument vendor specs, the manufacturer documentation is the authority. Agilent publishes dimensional and material specs for its chromatography consumables and columns, and Thermo Fisher documents its chromatography and sample handling requirements in the instrument manuals. Restek’s technical resources are unusually good on septum selection and bleed, and worth reading before you commit to a material. If your work is regulated, the EPA SW-846 test methods define the sample handling requirements for waste and materials analysis, and those requirements should drive your vial and septum choice rather than the other way around.
Operational precautions that prevent most failures
Most vial failures I have investigated were not material failures. They were handling failures, and they were preventable.
Crimping
Set the crimper to the supplier’s recommended crimp height and verify with a test vial before every batch. Crimp squarely. A tilted crimp is a leak waiting to happen. Do not re-crimp a seal; if it is wrong, discard the vial and start over. The glass has already been stressed.
Filling
Leave headspace. A vial filled to the neck will crack when the septum is compressed, and it will not allow for thermal expansion. Fill to about 75 to 80 percent of nominal volume. For a 2 mL vial, that is roughly 1.5 mL. If you are running headspace, the headspace volume is part of the method and should be controlled, not accidental.
Needle alignment
Check needle alignment against the septum center before every run. A needle that strikes off-center will core the septum and drag a plug into the sample path. This is the most common cause of ghost peaks in GC, and it is almost always an alignment issue rather than a septum material issue.
Storage and handling
Store vials capped and in the original packaging. Dust and airborne contamination on the septum face will show up in trace work. Do not store vials in a drawer with paper or cardboard; the fibers migrate. If you are pre-cleaning vials, do it in a validated way and dry them completely before capping.
Troubleshooting checklist
When a sequence fails, work through this in order. It is roughly the order in which the failures occur in practice.
- Ghost peaks or carryover: Check septum coring first. Then check needle alignment. Then check for a breached PTFE face. Replace the septum and re-run a blank.
- Evaporation or concentration drift: Check crimp height and seal seating. Check for a tilted crimp. Check the septum for a clean hole. Check that the vial lot matches the seal lot.
- Cracked vials: Check fill volume and headspace. Check the temperature program against the glass and septum rating. Check the annealing documentation if running hot.
- Injection volume variation: Check insert seating and dead volume. Check that the autosampler is drawing from the correct depth. Check for a partially blocked needle.
- Adducts or ion suppression in LC-MS: Check glass grade. Type III glass and some amber coatings leach. Switch to Type I clear and re-run.
- Leaks under pressure: Check the crimp with a pressure test. Check the septum thickness against the needle gauge. Check the cap torque on screw-thread vials.
What I would actually buy
If you are standardizing a lab and you want a single recommendation, here it is. Buy 2 mL, 12 x 32 mm, 6 mm neck, Type I borosilicate, clear vials with an 11 mm crimp closure and a PTFE-faced silicone septum, 3 mm thick. Buy a calibrated pneumatic crimper and set it to the supplier’s crimp height. Change septa every 50 injections on trace work. For small volumes, add 150 µL conical inserts and account for the 5 to 15 µL dead volume. For method development and small batches, keep a case of 9 mm screw-thread vials with the same septum material. Cross-reference every part number against the instrument vendor’s spec before you commit, and keep the certificate of analysis on file.
That combination will not be the cheapest per vial. It will be the cheapest per usable injection, which is the number that actually shows up in the budget at the end of the year. The failures I described at the start of this article cost more in lost time and re-runs than the price difference between a good vial and a marginal one, and they cost it in the worst possible way: silently, overnight, in a sequence you have to repeat.
The takeaway is simple. A cod vial is a precision component, not a disposable cup. Specify it on dimensions, glass grade, septum material, and temperature rating, match the closure to the workflow, and control the crimp or torque. Do that and the vial disappears into the background, which is exactly where you want it.
References & further reading
Related resources from our lab consumables network:
- Cod Vial at codvial.com
- Vial Insert at hplcinsert.com
- 2Ml Vial at 2mlsamplevial.com
- Hplc Consumables at hplcconsumable.com
External references and standards: