
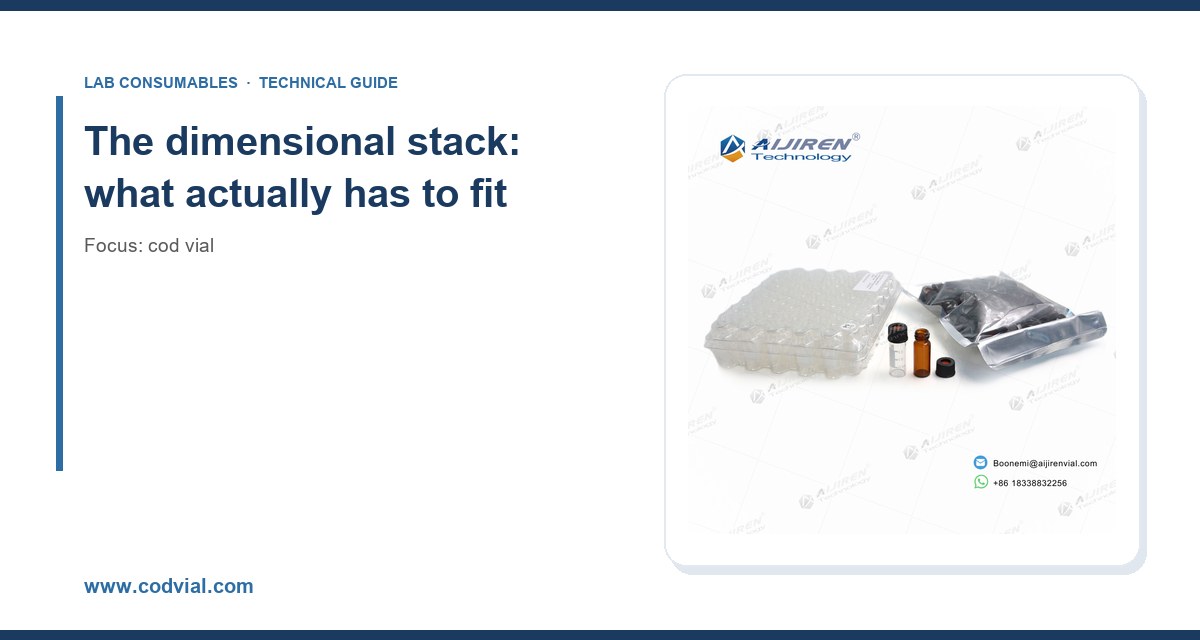
I have watched a lab buy 5,000 perfectly good cod vials, then discover the autosampler gripper could not lift them because the cap skirt was 0.4 mm too wide for the carrier fork. That is a $1,800 mistake that a $12 caliper would have prevented. Dimension matching is the least glamorous part of vial selection and the one that stops a sequence at 2 a.m. This guide is about the numbers: what to measure, what the instrument tolerances actually are, and where the interface between vial and autosampler or inlet goes wrong.
A cod vial does not sit in an autosampler as a single object. It sits as a stack of tolerances, and every layer has to clear something. From the bottom up you have the vial body diameter, the body height to the shoulder, the neck diameter, the crimp or thread finish, the seal thickness, the cap skirt diameter, and the total assembled height. Each of those dimensions is checked by a different part of the instrument.
The tray or carousel checks the body diameter against the well. The gripper checks the cap skirt and the neck against the fork opening. The needle guide checks the septa position. The inlet checks the neck and the seal against the port. If any one of those clearances is wrong, you get a hard stop, a bent needle, or a vial that lifts halfway and drops.
The standard geometry you are almost certainly working with
Most cod vials in HPLC and GC autosampler use follow the same envelope: 32 mm total assembled height, 11.6 mm body diameter, and a 6 mm neck that accepts a crimp seal or a screw cap depending on the finish. These dimensions trace back to the original autosampler designs of the 1980s and have been carried forward because every tray, every gripper, and every needle guide in the field was built around them. When you buy a 2 mL vial, those are the numbers you should expect on the drawing.
The variation is in the details. Crimp finish versus screw thread changes the neck profile above the 11.6 mm body. A crimp neck flares to accept an 11 mm aluminum seal. A screw thread is 9 mm or 10-425 depending on the design. The assembled height can move by 0.3 to 0.5 mm between a thin seal and a thick one. That sounds trivial until you are running a tray of 200 vials and the gripper has a 0.2 mm vertical clearance at the top of the stroke.
Matching the vial to the autosampler, not the other way around
The instrument is the fixed constraint. You do not get to shim the gripper. So the selection process starts with the autosampler model and works backward to the vial.
Agilent autosamplers
Agilent’s 1260 and 1290 Infinity series autosamplers, and the 7697A headspace sampler, are built around the 32 x 11.6 mm envelope. The standard tray holds 100 vials in a 10 x 10 layout with a well diameter of about 12.0 mm. That leaves roughly 0.4 mm of radial clearance around an 11.6 mm vial. It is enough for a glass body with normal forming tolerance, and not enough for a vial with a molded label panel that bulges past 11.8 mm.
The gripper fork on the 1260 series opens to about 12.4 mm and closes on the neck below the cap. If your cap skirt is wider than about 12.2 mm, the fork will close on the cap instead of the neck and the vial will tilt. I have seen this with aftermarket caps that copied the thread but not the skirt diameter. Agilent publishes the mechanical specifications for its autosamplers alongside its chromatography consumables and columns, and it is worth reading the dimensional notes before you commit to a supplier.
Thermo and CTC autosamplers
Thermo’s TriPlus and the CTC PAL family use a similar envelope but with tighter gripper tolerances. The PAL gripper is a two-finger design with a stroke that assumes a 6 mm neck and a cap skirt under 12.0 mm. Vials with a wide screw cap, particularly some 9 mm screw thread designs with a reinforced top, can bind. The PAL also has a tray well depth that assumes a 32 mm total height; a vial that assembles to 32.6 mm will sit proud and the gripper will grab it at the wrong point on the neck.
Thermo publishes its sample handling specifications through its chromatography and sample handling documentation. The dimensional drawings are the source of truth, not the marketing page.
GC inlets and the vial that feeds them
On the GC side the vial does not touch the inlet directly, but the autosampler that lifts it does, and the syringe that draws from it has its own geometry. A 10 microliter syringe with a fixed needle needs the vial septum to be pierced at the center and the needle to reach within about 1 mm of the bottom. If the vial’s internal bottom is conical rather than flat, the residual volume changes and your injection volume accuracy drifts. This is where the vial insert decision enters: a 150 microliter insert with a pulled point lets a fixed needle reach the last 5 microliters, while a flat-bottom insert leaves 15 to 20 microliters behind.
The cap and seal dimensions that decide whether the sequence runs
Most dimensional failures I have dealt with were not the glass. They were the cap.
Crimp caps
An 11 mm crimp seal has an outside diameter of 11.0 mm plus or minus 0.1 mm and a skirt height of about 6.0 mm. The crimping tool compresses the aluminum skirt around the neck bead. If the seal is too tall, the assembled vial exceeds 32 mm and the gripper misjudges the neck. If the aluminum is too soft, the seal deforms during crimping and the skirt bulges past 11.3 mm, which is where tray clearance gets tight.
Crimp torque is not a torque value in the fastener sense; it is a crimping force. The standard is a two-stage crimp: a preliminary crimp that seats the seal on the bead, then a final crimp that folds the skirt. Hand crimpers vary enormously. I have measured assembled heights from 31.8 to 32.4 mm across a single box of seals crimped by three different analysts on the same tool. That 0.6 mm spread is enough to cause intermittent gripper errors on a PAL.
Screw caps
A 9 mm screw cap has a thread pitch of 1.0 mm and a recommended tightening torque of about 0.4 to 0.6 N·m for a glass vial with a PTFE-lined silicone septum. Over-torque past 0.8 N·m and you will see two failure modes: the septum extrudes into the neck and the needle cores it, or the cap cracks at the thread root after a few thermal cycles. Under-torque below 0.3 N·m and the seal leaks during a 40 minute run at 40 degrees C, which shows up as a drifting internal standard peak area.
The cod vial product line covers both finishes, and the cap dimension is the number I ask for first from any supplier. If they cannot give you the skirt OD and the assembled height to two decimal places, they do not know their own tooling.
A dimensional decision checklist with real numbers
Use this before you place a standing order. Every number here is a tolerance you can measure with a caliper and a go/no-go gauge.
- Body diameter: 11.6 mm nominal, accept 11.55 to 11.75 mm. Reject anything over 11.80 mm for a 12.0 mm tray well.
- Total assembled height: 32.0 mm nominal, accept 31.8 to 32.2 mm. Reject over 32.3 mm on gripper-lift autosamplers.
- Neck diameter: 6.0 mm nominal for the gripper contact zone, accept 5.9 to 6.1 mm.
- Cap skirt OD: 11.0 mm for crimp, 11.2 mm for 9 mm screw, accept up to 12.0 mm. Reject over 12.2 mm on CTC PAL.
- Seal thickness: 1.0 mm nominal PTFE-lined silicone, accept 0.9 to 1.1 mm. Thicker seals push assembled height up.
- Septum puncture rating: 3 to 5 punctures for a standard silicone/PTFE septum at 23 gauge; 1 to 2 for a pre-slit septum before coring risk rises.
- Bottom geometry: flat or conical within 0.5 mm of the stated draw-down volume.
- Glass tolerance: USP Type I borosilicate, wall thickness 1.0 to 1.2 mm, forming tolerance plus or minus 0.15 mm on body OD.
If a supplier’s certificate of analysis does not state these dimensions, ask for the molding drawing. A supplier who will not share a drawing is telling you something.
Temperature and pressure ratings that affect fit
Dimensions move with temperature. A borosilicate vial has a coefficient of linear expansion around 3.3 x 10^-6 per degree C, which is small. The cap and septum are the problem. A PTFE-lined silicone septum at 60 degrees C softens enough that the crimp or screw torque relaxes, and the assembled height can drop by 0.1 to 0.2 mm as the seal compresses. On a headspace sampler running at 80 to 150 degrees C, that relaxation is why you re-check crimp integrity between runs.
Pressure ratings matter for the inlet side. A standard 11 mm crimp seal holds to about 1.5 bar before the septum lifts. If you are running a high-pressure injection or a fast LC method at 600 bar, the vial itself is not the pressure boundary (the needle and the injection valve are), but the septum has to hold the headspace pressure during the draw. A 1.0 mm silicone septum is rated for that. A 0.5 mm thin septum is not, and I have seen it balloon and leak on a 400 bar system.
Where cod vials and standard vials diverge on dimensions
The name “cod vial” is a source of confusion, and I have covered the naming elsewhere. For dimension matching, the practical point is that a cod vial is built to the same 32 x 11.6 mm envelope as a standard autosampler vial. The difference is in the closure system and the intended application, not in the body geometry. That means the dimensional checklist above applies to both. What changes is the cap: a cod vial typically uses a specific closure that has to match the instrument’s expectations for that application.
This is why I tell procurement to buy the vial and the cap as a matched set from one supplier. Mixing a vial from one vendor with a cap from another is where the 0.4 mm errors come from. The HPLC consumables supply chain is full of caps that are “compatible” on paper and 0.3 mm off on the skirt.
Operational precautions before the first run
Dimension matching does not end at the purchase order. It continues on the bench.
- Measure a sample of every lot: 10 vials from each box, caliper on body OD and assembled height. Log the values. A drifting mean is your early warning of a tooling change at the supplier.
- Check the crimper or torque wrench monthly against a gauge. A hand crimper that has been dropped will produce a 0.5 mm height spread without any obvious sign.
- Do not mix lots in a single tray. If one lot is at 32.15 mm and another at 31.85 mm, the gripper sees a 0.3 mm step and may fault on the transition.
- Verify septum puncture count against your method. A 96-well plate autosampler may puncture each vial only once; a multi-injection method may puncture three times, and a standard septum starts coring at four.
- For GC headspace, re-crimp or re-torque between runs if the method holds vials at temperature for more than 30 minutes.
Troubleshooting checklist: symptoms and the dimension that causes them
When a sequence faults, work through this list in order. In my experience the answer is in the first four items 80 percent of the time.
- Gripper fails to lift the vial: cap skirt OD over 12.2 mm, or assembled height over 32.3 mm. Measure both.
- Vial lifts then drops: neck diameter under 5.9 mm, so the fork closes past the neck. Check neck OD.
- Needle bends on entry: vial not seated in the well because body OD over 11.8 mm, or a bulged label panel. Check body OD at the widest point, not the nominal.
- Injection volume RSD over 2 percent: bottom geometry mismatch with the needle depth, or septum coring adding particulate. Check draw-down volume and puncture count.
- Peak area drift over a long run: seal leak from under-torque or a thin septum. Check torque and septum thickness.
- Carryover between vials: cap skirt too wide so the needle wipes the cap on withdrawal. Check skirt OD and needle guide clearance.
- Vial stuck in the tray: body OD over the well diameter, usually a forming defect in one lot. Quarantine the lot.
The Restek technical resources include dimensional guidance for vials and seals that is worth keeping on the bench, and the U.S. EPA SW-846 test methods specify vial and septum requirements for waste and materials analysis that constrain your choice further if you run those methods.
What I recommend
Standardize on a single vial and cap combination per instrument, and buy them as a matched set. For a 1260 or 1290 Infinity autosampler, specify a 32 x 11.6 mm vial, 11 mm crimp finish, 1.0 mm PTFE-lined silicone septum, assembled height 32.0 mm plus or minus 0.2 mm, cap skirt OD 11.0 mm plus or minus 0.1 mm, and crimp with a calibrated two-stage tool. For a CTC PAL or TriPlus, use the same body with a 9 mm screw cap torqued to 0.5 N·m plus or minus 0.1 N·m and a skirt OD under 12.0 mm.
Then measure. Ten vials per lot, caliper on body OD and assembled height, logged against the lot number. When a supplier changes tooling, the log catches it before the autosampler does. That is the whole discipline: the instrument has fixed tolerances, the vial has to fit inside them, and the only way to know is to put a number on it.
Dimension matching is not a purchasing detail. It is the first quality control step in every sequence you run, and it happens before the first injection. Get the 32 mm and the 11.6 mm right, get the cap skirt under 12.0 mm, torque to 0.5 N·m, and the autosampler will do its job. Get them wrong and no amount of method development will save the run.
References & further reading
Related resources from our lab consumables network:
- Cod Vial at codvial.com
- Vial Insert at hplcinsert.com
- 2Ml Vial at 2mlsamplevial.com
- Hplc Consumables at hplcconsumable.com
External references and standards: