
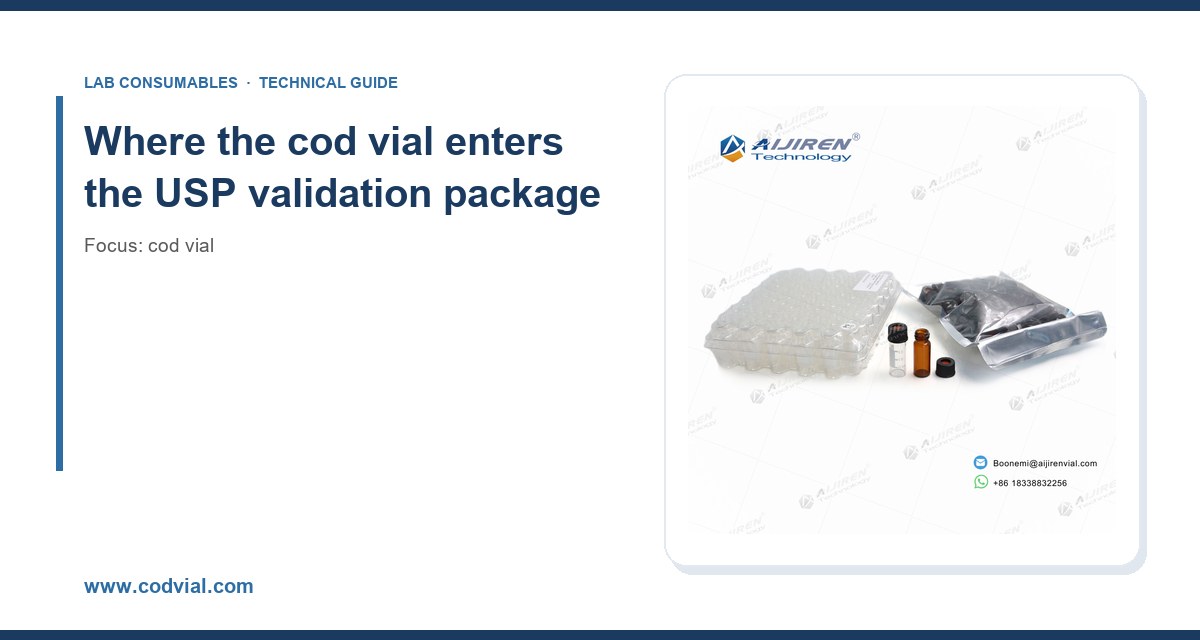
I have sat in two FDA inspections where the investigator asked to see the vial drawing before asking to see the chromatograms. Both times, the method was fine and the documentation around the vial was not. That pattern stuck with me: the analytical method gets validated to death, and the container the sample sits in gets treated as an afterthought until someone asks for the dimensional tolerance on the septum or the extractables data on the closure. This article is about closing that gap: how USP requirements attach to a cod vial inside a validated method, and what you have to document to prove the attachment holds.
USP <1225> lays out the validation characteristics you have to demonstrate: accuracy, precision, specificity, linearity, range, detection limit, quantitation limit, robustness. None of those chapters mention a vial by name. That is the trap. The vial does not appear as a line item in <1225>, so people assume it sits outside the validation scope. It does not, because every one of those characteristics is measured on a sample that passed through the vial, and any variability the vial contributes lands inside your reported result.
My working rule: if a component touches the sample between collection and injection, it is part of the method, and the method validation has to account for it. For a cod vial that means three USP anchors apply whether or not anyone wrote them into the protocol:
- USP <1225> validation characteristics, specifically robustness and precision, where vial-to-vial variability shows up.
- USP <1663> on extractables and leachables from packaging and manufacturing systems, which governs what the closure can shed into the sample.
- USP <788> and <789> for particulate matter where the cod vial is used in a particulate or visible-particulate context, since the vial is a particle source as well as a container.
There is also the general chapter on chromatographic systems, USP <621>, which sets system suitability. A vial that adsorbs your analyte or bleeds a plasticizer into the injection changes the peak shape and the tailing factor, and system suitability fails for reasons the column gets blamed for. I have watched a lab replace three HPLC columns before someone pulled the septum lot number.
System suitability as the first place the vial shows up
Run the numbers. System suitability for a typical reversed-phase assay wants tailing factor NMT 2.0, theoretical plates above a stated minimum, and RSD of replicate injections NMT 2.0% for five injections. If your method sits at 1.6% RSD with a good autosampler and a fresh column, a vial lot with inconsistent septum penetration can push you to 2.3% and you fail suitability on a sample that was fine. That is not a column problem. That is a closure problem, and it belongs in the robustness section of the validation report.
What I do now: during robustness, I deliberately run the method on two different vial lots and one competitor vial, and I record the system suitability RSD for each. If the spread across lots exceeds half the acceptance criterion, the vial is a critical method component and gets its own specification in the method document. That is a fifteen-minute experiment that has saved me weeks of investigation.
What the vial specification has to contain to survive an audit
A vial specification that says “2 mL clear glass, 9 mm screw thread” is not a specification. It is a wish. A defensible spec for a cod vial in a validated method carries dimensions with tolerances, material identity, and performance criteria. Here is the parameter set I insist on, with the numbers I actually use:
Dimensional and material parameters
- Nominal capacity: 2.0 mL total, with a usable volume of at least 1.5 mL at the stated fill. The 2 mL format is the workhorse; see the range at 2Ml Vial for the dimensional family.
- Neck thread: 9 mm screw thread per the GPI 9 mm finish, or the 8-425 / 10-425 short-thread finishes depending on autosampler. State the finish explicitly. A 9 mm cap on an 8-425 neck will cross-thread and leak.
- Body OD and height: typically 11.6 mm OD x 32 mm height for a 2 mL vial, held to +/- 0.2 mm so it seats in the autosampler tray without rocking.
- Glass: Type I borosilicate, USP <660> compliant, with a hydrolytic resistance class stated. For pH-sensitive analytes, demand the Type I designation in writing.
- Septum: silicone core with PTFE facing on the sample side, thickness around 1.0 mm, hardness 45 to 55 Shore A. The PTFE facing is not optional for anything that touches a reactive analyte.
- Cap: polypropylene, with the torque spec called out. For 9 mm screw caps I hold 0.8 to 1.2 in-lb; over-torque deforms the septum and creates a coring path.
- Puncture count: state the validated maximum. For a 1.0 mm silicone septum I plan on 3 to 5 punctures before coring risk climbs, and I write that number into the SOP.
That list is the difference between a spec that passes a paper audit and one that fails a bench audit. The dimensional tolerances are checkable with calipers. The septum hardness is checkable with a durometer. The torque is checkable with a torque screwdriver. If you cannot check it, you cannot defend it.
Extractables and leachables under USP <1663>
USP <1663> is the chapter that turns the vial from a container into a documented risk. It asks you to characterize what the packaging can release into the sample and to justify the control strategy. For a cod vial, the closure is the main source: plasticizers from the silicone, antioxidants from the polypropylene, and residual mold release. The glass contributes less but still matters for alkali leaching at high pH.
What I put in the method document: a controlled extractables study on the actual vial and closure lot family, run in the method’s diluent at the method’s temperature and contact time, with the detected species listed against the analytical method’s detection limit. If a leachable sits below the method’s LOQ, it cannot interfere. If it sits above, it goes on the interference list and the method says how you handle it. That is the defensible position, and it is the one an investigator can follow from the method to the data.
For labs running environmental work under EPA methods, the same logic applies with a different reference frame. The U.S. EPA SW-846 test methods family specifies container and preservation requirements, and the vial has to meet them for the holding time to be valid. I have seen a volatile organics run invalidated because the vial headspace and septum were not the specified configuration, and the holding time clock started over.
Building the vial into the method validation protocol
The cleanest way to handle this is to write the vial into the validation protocol before you run it, not after. Here is the structure I use, mapped to the USP <1225> characteristics that the vial actually influences.
Precision and repeatability
Run a replicate injection study, n=10, on the same prepared sample in the same vial, then n=10 across ten different vials from the same lot, then n=10 across a second lot. Report the RSD for each. The within-vial RSD is mostly autosampler and column. The across-vial RSD is where the closure shows up. Set an acceptance criterion of NMT 2.0% RSD across vials, matching the system suitability limit, and document the result. If you cannot meet it, the vial lot is the first suspect.
Robustness
This is the section where the vial earns its place. Vary the vial lot, vary the septum lot, vary the torque within the stated range, and vary the fill volume from the nominal down to the minimum usable volume. Record system suitability and assay result for each condition. If the assay result moves more than the method’s repeatability limit across these conditions, the vial is a critical parameter and the method document has to lock it down with a part number and a lot qualification requirement.
Specificity and interference
Inject a blank prepared in the vial with no analyte and look for peaks in the analyte window. This is the extractables check in method form. If you see a peak, identify it or move the method to a different closure. I keep a reference chromatogram of a blank vial extract on file for every method that uses a cod vial, and I re-run it whenever the vial supplier changes.
Carryover and adsorption
Some analytes stick to silicone. Run a low-concentration standard, then a blank, and measure carryover. Then run the low standard in a vial that has sat for the method’s maximum hold time and compare to a fresh preparation. Adsorption shows up as a downward drift with time, and it is easy to mistake for degradation. The fix is often a PTFE-faced septum and a glass surface with the right hydrolytic class, not a method change.
Vial selection decision checklist for a validated method
This is the table I hand to a lab manager who is choosing a cod vial for a method that has to survive validation and audit. The numbers are the ones I use; adjust them to your method but keep the structure.
- Analyte reactivity: if the analyte is pH-sensitive, light-sensitive, or adsorbs to silicone, require Type I glass, amber body, and PTFE-faced septum. If not, clear glass and a standard silicone/PTFE septum is fine.
- Autosampler compatibility: confirm the neck finish (9 mm GPI, 8-425, or 10-425) against the autosampler tray spec. A mismatch is a mechanical failure, not a chemistry problem.
- Fill volume: usable volume at least 1.5 mL for a 2 mL vial at the stated fill, with headspace controlled. Too little headspace and the autosampler needle hits the septum at an angle and cores it.
- Puncture count: state the validated maximum (3 to 5 for a 1.0 mm septum) and write it into the SOP. Beyond that, coring risk climbs and you get particles in the injection.
- Torque: 0.8 to 1.2 in-lb for 9 mm screw caps. Verify with a torque screwdriver on the first ten caps of each lot and record it.
- Extractables: require a controlled extractables study on the lot family under USP <1663>, in the method diluent, at the method temperature and contact time.
- Lot qualification: qualify each new lot against the reference chromatogram and the precision study before release to production.
- Documentation: the supplier must provide the drawing, the material certificates, and the extractables report. If they cannot, the vial is a risk you are accepting without evidence.
For a deeper look at the dimensional family and the insert options that go with it, the Vial Insert reference is useful when your fill volume drops below the usable volume of the vial body and you need a glass insert to keep the injection volume valid.
Operational precautions that keep the validation valid
Validation is a snapshot. The method stays valid only if the bench practice matches what was validated. These are the precautions I enforce, and each one maps to a failure I have actually seen.
Septum handling and coring
A septum that has been punctured more than the validated count cores. The core is a silicone disc that lands in the sample and either blocks the needle or injects as a particle. I have seen a coring event put a 0.5 mm silicone fragment into a sample and produce a ghost peak at 8.2 minutes that took two days to identify. Enforce the puncture count. Use a fresh vial for every injection beyond the limit. If your autosampler does pre-piercing, account for that puncture in the count.
Torque and cap seating
Under-torque leaks. Over-torque deforms the septum and creates a coring path. The window is narrow: 0.8 to 1.2 in-lb for a 9 mm screw cap. Hand-tightening is not a torque spec. I keep a torque screwdriver at the bench and check the first ten caps of every lot. If the cap does not seat flush, the neck finish and the cap are mismatched, and no amount of torque fixes it.
Temperature and light
Cod vials are typically rated for storage from -80 °C to 120 °C depending on the closure, but the septum is the limiting component. Silicone stays functional across that range; the PTFE facing and the polypropylene cap are the parts that degrade. For freeze-thaw cycles, I limit to three cycles and verify no septum deformation. For light-sensitive analytes, amber glass blocks most of the UV range but not all visible light; if the method is light-sensitive, wrap the tray.
Particulate control
Under USP <788> and <789>, the vial is a particle source. Glass flakes from the neck, silicone from the septum, and dust from the tray all count. I require a particle count on a blank vial rinse before lot release, and I reject lots that exceed the method’s particulate limit. For methods with a sub-visible particulate requirement, this is not optional.
Troubleshooting checklist when the method drifts
When a validated method starts failing system suitability or drifting on assay, work this list before you touch the column. In my experience the vial accounts for a meaningful share of these investigations, and it is the cheapest thing to check first.
- Ghost peaks in the analyte window: run a blank vial extract. If peaks appear, the closure is shedding. Check the septum lot and the extractables report.
- Rising tailing factor: check septum coring and particulate in the injection. A cored septum adds particles that change the flow path.
- Assay drifting down over a run: suspect adsorption to the septum or the glass. Compare a fresh preparation to one held for the method’s maximum hold time.
- RSD climbing across vials: run the across-vial precision study. If the across-vial RSD exceeds the within-vial RSD by more than half the acceptance criterion, the vial lot is the suspect.
- Leaks or evaporation: check torque with a screwdriver. Under-torque is the usual cause; a mismatched neck finish is the second.
- Needle bending or autosampler errors: check the vial height tolerance and the neck finish against the tray spec.
- Carryover increasing: check the septum for adsorption and the vial for residual sample on the neck threads.
If the checklist points to the vial, the fix is a lot qualification and a supplier conversation, not a method revalidation. That is the whole point of writing the vial into the method in the first place: it turns a mysterious drift into a documented, checkable parameter.
Where the supplier documentation fits
You cannot validate a vial you cannot describe. The supplier has to give you the drawing with tolerances, the material certificates for glass and closure, and the extractables report under USP <1663>. If the supplier is a distributor who cannot produce the drawing, you are accepting a risk without evidence, and an investigator will find that gap. I have seen a supplier change a septum compound without notice and invalidate three months of data across two labs. The lot qualification requirement in the method document is what catches that change before it reaches the bench.
For the wider consumables picture, the reference material at Hplc Consumables covers the surrounding hardware, and the technical resources at Restek and the sample handling guidance from Thermo Fisher chromatography and sample handling are useful when you are cross-checking a supplier’s claims against independent data. The column and accessory documentation from Agilent chromatography consumables and columns is a good sanity check on autosampler compatibility and neck finish. None of these replace your own extractables study, but they help you ask the right questions.
Recommendation
Write the cod vial into the method document as a critical component with a part number, a dimensional spec, a septum spec, a torque range, a puncture count, and a lot qualification requirement. Run the across-vial precision study and the blank extract during validation, and file both in the validation report under robustness and specificity. Require the supplier’s drawing and extractables report under USP <1663> before the first lot is released. That is the whole program, and it is not large. It is a spec sheet, two experiments, and a lot qualification SOP.
The payoff is that when the method drifts, you have a documented parameter to check and a supplier obligation to enforce. The vial stops being a mystery and becomes a line item you can defend. That is what it means for USP requirements to apply to a cod vial in a validated method: not a chapter citation, but a spec you can measure, a study you can repeat, and a lot you can qualify. Do that, and the vial stops being the thing that fails the audit.
References & further reading
Related resources from our lab consumables network:
- Cod Vial at codvial.com
- Vial Insert at hplcinsert.com
- 2Ml Vial at 2mlsamplevial.com
- Hplc Consumables at hplcconsumable.com
External references and standards: