
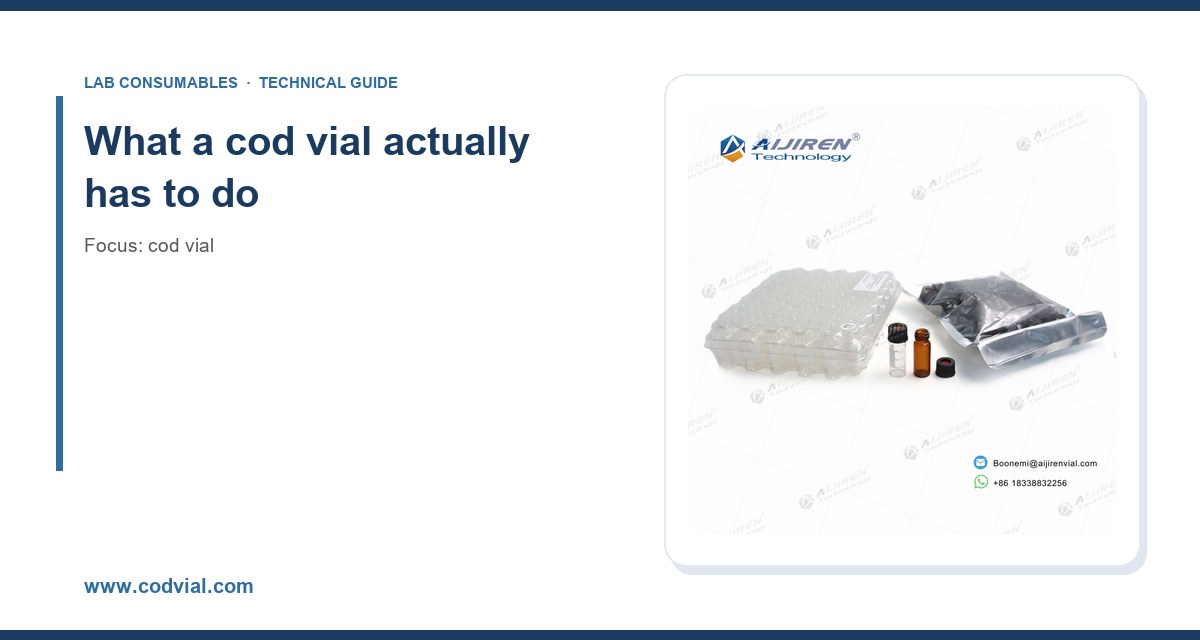
I still remember the first time a client sent back a whole batch of COD results because every single vial had leaked inside the autosampler tray. Forty-two samples, two days of work, and a cleanup that took an entire afternoon with lint-free wipes and a lot of swearing. The culprit was not our chemistry. It was a $0.30 vial with a liner that did not match the septa we were using. That day taught me more about vial selection than any catalog ever did, and it is the reason I now treat the vial as a critical component rather than an afterthought.
Chemical oxygen demand (COD) work is unforgiving. You are dealing with strong acid, dichromate or permanganate oxidants, temperatures around 150 °C in sealed tubes, and a detection step that often runs on a spectrophotometer at 600 nm or 440 nm. The vial is not passive packaging. It is the reaction vessel, the optical cell, and the transport container all at once. If it fails at any of those jobs, your numbers are wrong and you may not know it until a client calls.
This guide is what I wish someone had handed me fifteen years ago. It covers the physical specs that matter, the closure systems that actually hold pressure, the differences between glass grades, and the operational traps that cost labs time and money. I will give you numbers, not adjectives.
A COD vial has three jobs, and they conflict with each other. First, it must contain a hot acidic oxidizing mixture without leaking or bursting. Second, it must stay optically clear enough at the measurement wavelength that absorbance readings track the chemistry and not the glass. Third, it must survive handling: capped, uncapped, shaken, vortexed, heated, cooled, and read in a spectrophotometer or a dedicated COD photometer.
Most standard COD vials are borosilicate glass tubes with a nominal 16 mm outer diameter and a working volume between 2 mL and 10 mL, depending on the digestion scale. The common formats are 16 x 100 mm and 16 x 125 mm. If you are running a Hach-style digestion block, the block geometry dictates the diameter and length, and you cannot fudge it. A vial that is 2 mm too long will not seat, and a vial that is 1 mm too wide will jam.
The optical path length is usually the internal diameter of the tube, so a 16 mm OD vial with roughly 13 mm ID gives you a path length near 13 mm. Some kits use square cuvettes with a defined 10 mm path. Know which one your instrument was calibrated for. Mixing round tubes and square cuvettes in the same method without recalculating is a rookie mistake that shows up as a systematic bias of 10 to 20 percent.
Glass grade and why it matters more than you think
Not all borosilicate is equal. Type I borosilicate (often 3.3 expansion coefficient) is what you want for thermal cycling. It handles the 150 °C digestion and the rapid cool-down without developing micro-cracks. Type II soda-lime glass is cheaper and fine for ambient storage, but I have seen it craze after repeated heating cycles, and a crazed vial scatters light. That shows up as elevated absorbance and a false positive on low-range COD.
If your method involves a 2-hour reflux at 150 °C (the classic closed-tube variation of EPA 410.4 and the open reflux method in U.S. EPA SW-846), specify Type I borosilicate explicitly on the purchase order. Do not accept “borosilicate” without a grade. I have rejected three lots in my career because the certificate of analysis said “borosilicate glass” and the expansion coefficient was never stated.
Closure systems: where most failures happen
If the vial body is the hardware, the closure is the software, and it is where things break. A COD digestion cap has to do three things: seal against pressure at 150 °C, resist concentrated sulfuric acid, and stay attached or at least stay findable during a 2-hour run.
Screw caps and the GPI thread standard
Most 16 mm vials use a GPI 16-425 thread, which means a 16 mm neck finish with 425 threads per inch pitch class. That is a real standard, and it exists so caps from different suppliers interchange. In practice, interchange is imperfect. A cap molded to the low end of the tolerance and a vial threaded to the high end will feel tight but seal poorly. My rule: buy caps and vials from the same supplier when you can, and if you cannot, torque-test a sample before committing to a lot.
Hand torque is usually enough. Aim for 1.5 to 2.0 N·m on a 16 mm cap. Overtorquing to 3 N·m or more distorts the PTFE-faced liner and actually reduces seal integrity under pressure. I keep a small torque screwdriver in the lab and spot-check new operators. It sounds fussy until you have cleaned digested sample out of a heating block.
Septa and liners
The liner is the unsung hero. For COD work you want a PTFE-faced silicone septum or a solid PTFE liner. The PTFE face contacts the acid and the vapor; the silicone provides the compressibility that lets the cap seal. Bare silicone will be attacked by hot sulfuric acid and will shed particles into your digestate. I have seen silicone-only septa turn cloudy and crumble within a single 2-hour run.
For vials that will be sampled by autosampler after digestion, a pre-slit PTFE/silicone septum reduces coring. Coring is when the needle punches a plug out of the septum, and that plug ends up in your sample or your needle. A good septum takes 50 to 100 punctures before it starts leaking, but that number assumes a sharp, correctly aligned needle. A bent needle will core a septum in three injections. If you are running high-throughput autosampling, plan on replacing septa or caps every 50 injections, not every 100.
This is also where the choice of vial insert becomes relevant. If your post-digestion sample volume is small (under 300 µL), a glass insert with a polymer foot lets you recover more of it without changing the outer vial. Match the insert to the vial ID, not just the OD. A 200 µL insert in a 13 mm ID tube sits at an angle and the autosampler misses it.
Matching the vial to your digestion and detection method
Different COD methods put different demands on the vial. Here is how I would think about the main ones.
Closed-tube digestion (small-scale, 2 mL to 10 mL)
This is the workhorse for environmental labs running dozens to hundreds of samples a day. Vials are typically 16 x 100 mm, filled with 2 to 3 mL of sample plus reagents, capped, and heated in a block at 150 °C for 2 hours. The vial must hold pressure (the headspace expands), resist acid, and then be read directly in a spectrophotometer.
For this format, specify: Type I borosilicate, GPI 16-425 thread, PTFE-faced silicone septum, and a cap that is rated for at least 150 °C continuous. Check the cap material. Polypropylene is common and works to about 135 °C for short periods; for 150 °C you want a cap that is either PP with a heat-resistant liner or a phenolic cap. Phenolic caps handle the temperature but are brittle and crack if dropped. I have had better luck with PP caps and a good liner, provided the torque is right.
Open reflux and larger-volume methods
If you are running the classic open reflux method with 250 mL flasks, the “vial” is really a flask, and the closure question is different. But many labs now run mid-scale digestion in 40 mL or 60 mL vials with PTFE-lined screw caps. Those need a 24-400 or 24-410 thread, and the same rules apply: PTFE face, correct torque, and a cap rated for the temperature. At 40 mL you have more headspace, so pressure is less of an issue, but acid vapor attack on the liner is worse because there is more of it.
Detection: spectrophotometric vs. titrimetric
If you read absorbance directly in the vial, optical clarity is non-negotiable. Buy vials that are specified as matched or low-absorbance, and check a blank batch against your reference. A simple incoming QC: fill ten vials with DI water, read at 600 nm against air, and confirm the spread is under 0.005 AU. If it is wider than that, the glass is inconsistent and your low-range results will be noisy.
If you titrate, optical clarity matters less, but volume accuracy matters more. A vial with a molded-in fill line at 2.0 mL is convenient but not calibrated. For titrimetric work I prefer to dispense sample with a calibrated pipette and not trust the molded line.
A buying checklist with numbers
Here is the decision table I actually use when qualifying a new vial supplier. Print it, take it to your next purchasing meeting, and do not let anyone wave it away.
- Dimensions: Confirm OD (16.0 ± 0.2 mm), length (100 or 125 mm), and ID. Ask for the drawing, not just the catalog page.
- Glass grade: Type I borosilicate, expansion coefficient stated as 3.3 x 10⁻⁶ /K. Reject “borosilicate” without a grade.
- Thread: GPI 16-425 for 16 mm vials; 24-400 for 40 mL class. Verify cap interchange with a torque test.
- Cap temperature rating: At least 150 °C continuous for closed-tube digestion. Get it in writing.
- Liner: PTFE-faced silicone or solid PTFE. No bare silicone for acid digestion.
- Puncture rating: 50 to 100 punctures per septum under ideal needle conditions; plan replacement at 50 for high-throughput.
- Optical QC: Blank absorbance spread under 0.005 AU at 600 nm across a 10-vial sample.
- Fill volume: Nominal working volume stated (2 mL, 5 mL, 10 mL) and headspace calculated for your digestion temperature.
- Lot traceability: Certificate of analysis with lot number, glass grade, and dimensional check.
- Packaging: Vials shipped in trays that fit your autosampler or digestion block; loose bagged vials cost you loading time.
That last point is not trivial. A tray that holds 50 vials in a 5 x 10 grid and drops straight into your block saves 20 to 30 minutes a day in a busy lab. Over a year that is real money.
Operational precautions that prevent the failures I have seen
Even a perfect vial fails in the wrong hands. These are the operational rules I enforce.
Before digestion
Inspect every vial. Hold it up to light and look for chips at the rim, cracks at the neck, and cloudiness. A chipped rim will not seal no matter how good the cap is. I reject any vial with a visible rim defect, full stop.
Fill to the specified volume and no more. Headspace is not wasted space; it is the expansion room. Overfilling a 16 x 100 mm vial to the neck and then heating to 150 °C is how you get a cap that pops or a tube that cracks. Leave at least 15 to 20 percent headspace.
Cap with consistent torque. Train new operators with a torque screwdriver for the first week. After that, hand-tight is usually fine, but spot-check monthly.
During digestion
Do not mix vial sizes in the same block run unless the block is designed for it. Different thermal masses heat at different rates, and your 2-hour timer starts when the block reaches temperature, not when you press start. Use a calibrated block thermometer, not the display.
Watch for the first 10 minutes. Most leaks happen during heat-up, when pressure spikes before the liner fully seats. If you see condensation on the outside of a cap, that vial is leaking. Pull it, note it, and check the torque on the rest of the batch.
After digestion and during analysis
Cool to room temperature before uncapping. Opening a hot vial releases acid vapor and can spray digestate. I have seen a scar from that. Cool in the block or on a rack, not in a water bath (thermal shock can crack Type I glass if the delta is too large).
If you are running the digestate on an HPLC or an autosampler-based system for a related method, the same vial rules apply, and the consumables ecosystem overlaps. The people who make HPLC consumables often make the vials and caps too, and buying from one source reduces the interchange risk I mentioned earlier.
Troubleshooting checklist for COD vial problems
When results go sideways, work through this in order. I have used it dozens of times and it usually finds the problem in under an hour.
- High blanks: Check glass clarity (blank absorbance spread), check for residual acid on the outside of the vial, check that the spectrophotometer cell is clean.
- Low recovery: Check fill volume and headspace; check that the digestion block actually reached 150 °C; check cap torque (a loose cap loses volatile organics).
- Leaks or condensation on caps: Check liner type (bare silicone?), torque (too low or too high), and whether the cap is rated for 150 °C.
- Cracked vials: Check for thermal shock (cooling method), overtorquing, and glass grade (soda-lime instead of Type I).
- Autosampler needle coring: Check septum type (pre-slit?), needle alignment, and puncture count. Replace septa at 50 injections.
- Inconsistent absorbance across replicates: Check vial-to-vial optical variation with the DI water test; if spread exceeds 0.005 AU, the glass lot is suspect.
- Caps that will not come off: Overtorque or acid attack on the thread. Soak in warm water, use a cap wrench, and review torque procedure.
Where the market sits and how to buy
There are three tiers of supplier. The instrument manufacturers sell vials matched to their own digestion blocks and photometers, and the quality is consistent. Agilent chromatography consumables and columns and Thermo Fisher chromatography and sample handling both publish dimensional and material specs, and their technical support will answer a torque or liner question. You pay for that.
The second tier is specialty consumables suppliers who sell COD vials as a focused product line. This is where Cod Vial sits, and it is often the sweet spot for a lab that wants Type I glass and PTFE liners without the instrument-maker markup. The third tier is general lab distributors, where the vial is one SKU among thousands and the spec sheet is thin. I buy from tier one when the method is validated and locked, and from tier two when I need volume and can qualify the lot myself.
For reference methods and technical background, Restek technical resources for chromatography are useful even for COD work because the sample-handling principles overlap. And if you are standardizing across a multi-site lab, standardize the vial SKU too. Different sites buying different vials is how you get a 15 percent inter-lab bias that takes six months to find.
What to put in the purchase order
Be explicit. A good PO line reads: “16 x 100 mm Type I borosilicate glass vial, GPI 16-425 thread, 2 mL nominal working volume, with PP screw cap and PTFE-faced silicone septum rated 150 °C continuous, supplied in 50-position trays, certificate of analysis per lot.” That sentence has prevented more arguments than any contract clause I have written.
Ask for a sample lot before you commit. Run the DI water optical test, the torque test, and a 2-hour digestion with a known standard. If the recovery is within your method’s acceptance criteria (typically 85 to 115 percent for COD standards) and the blanks are clean, you have a qualified supplier. Re-qualify every 12 months or whenever the supplier changes glass source.
Takeaway
The right COD vial is the one whose glass grade, thread standard, liner material, and temperature rating are all specified in writing and verified by a lot test before it enters your workflow. Buy Type I borosilicate, GPI 16-425 or 24-400 as your format requires, PTFE-faced septa, caps rated to 150 °C, and trays that fit your block. Torque to 1.5 to 2.0 N·m, leave 15 to 20 percent headspace, replace septa at 50 punctures, and run the 0.005 AU blank test on every new lot. Do that and the vial stops being the variable in your COD results. Skip it and you will eventually clean digestate out of a heating block at 6 p.m. on a Friday, which is exactly where I started this article.
References & further reading
Related resources from our lab consumables network:
- Cod Vial at codvial.com
- Vial Insert at hplcinsert.com
- 2Ml Vial at 2mlsamplevial.com
- Hplc Consumables at hplcconsumable.com
External references and standards: