
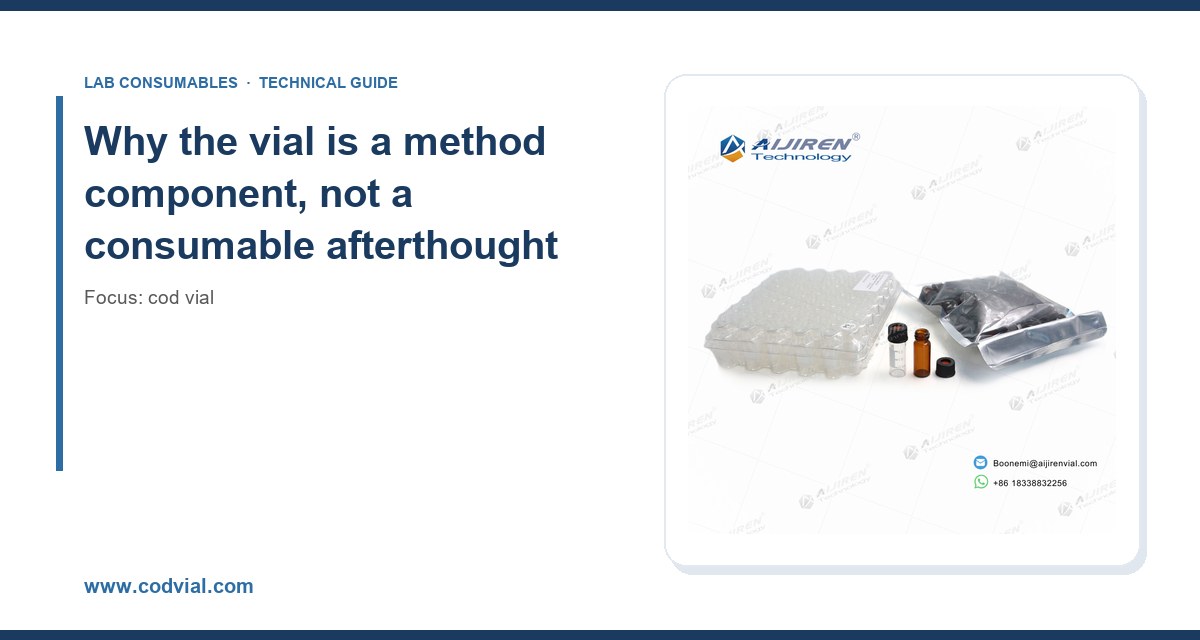
I still keep a photocopy of a 1994 EPA method audit finding taped inside my sample-prep binder: the lab had reported a clean volatile organics run from vials whose septum had been punctured so many times the silicone core was torn, and the reviewer flagged it as a data-quality issue. That single finding cost the lab three weeks of reanalysis and a six-figure contract. Ever since, I treat the COD vial as a controlled component of the method, not a disposable afterthought. If you are running regulated methods under EPA SW-846, ISO 6060, or AOAC protocols, the vial you choose and how you handle it directly affects whether your numbers survive an audit.
Regulated analytical methods define the sample container in ways most people skim past. EPA Method 3510C and 8270E specify glassware conditioning and storage. ISO 6060:1989 (water quality, chemical oxygen demand) requires a specific digestion vessel and reflux configuration. AOAC 973.46 (chemical oxygen demand of water) sets its own tolerance for the digestion tube. In each case, the vial or tube is part of the analytical system, and changing it changes the result.
I have watched a lab try to save money by switching from a borosilicate digestion tube to a soda-lime glass vial. The first batch looked fine. By the third batch, the blanks were creeping up because the soda-lime glass was leaching sodium and trace organics under the 150 °C digestion. The COD values on low-range samples shifted by 8 to 12 mg/L, which is enough to fail a proficiency test. The cost of the cheaper vial was trivial. The cost of the reanalysis and the corrective action report was not.
When you buy a COD vial for a regulated method, you are buying a piece of the measurement chain. Treat it that way and the rest of this article will make sense.
The regulatory landscape: what each standard actually requires
Different methods impose different constraints. I break them into three families: U.S. EPA SW-846 methods, ISO standards, and AOAC official methods. Each has its own quirks that affect vial selection.
EPA SW-846 and the digestion vessel
SW-846 is EPA’s test methods manual for evaluating solid waste and is the backbone of most U.S. environmental labs. The methods that matter most for COD and related wet-chemistry work include Method 3510C (separatory funnel liquid-liquid extraction), 8270E (semivolatile organics by GC/MS), and the wet-chemistry methods in the 4000 series. The EPA SW-846 test methods for waste and materials page is the authoritative source; bookmark it and check revision dates before every audit cycle.
What SW-846 requires of the vessel:
- Material compatibility: borosilicate glass (Type I, Class A) is the default. Soda-lime glass is not acceptable for heated digestions above 100 °C.
- Volume headspace: digestion vessels typically need at least 10 percent headspace to accommodate thermal expansion. A 20 mL vial filled to 15 mL is at the edge; fill to 12 mL and you have margin.
- Closure integrity: the cap must not contribute extractable organics. PTFE-lined silicone septa are the standard; bare silicone is a source of contamination.
- Cleaning protocol: acid wash (10 percent HNO3 or HCl) followed by solvent rinse and oven dry. The method does not spell out the temperature, but 105 °C for at least one hour is the de facto convention.
The SW-846 manual also requires that you document the vial lot in your method blank records. If you cannot trace a blank failure to a specific lot, your corrective action is guesswork. I insist that every case of vials carry a lot number on the outside of the carton, not just on a packing slip.
ISO 6060 and the reflux digestion tube
ISO 6060:1989 specifies a reflux digestion in a glass tube with a ground-glass joint or a screw cap with a PTFE liner. The standard calls out a 250 mL digestion tube for the macro method and smaller volumes for micro variants. The key constraint is that the tube must withstand 2 hours at reflux (approximately 148 to 152 °C) without deformation or leaching.
ISO 6060 does not name a specific manufacturer, but it does specify the tube dimensions and the closure type. If you substitute a vial with a different wall thickness, the heat transfer changes and the digestion kinetics shift. In my experience, a vial with 1.2 mm wall thickness digests differently than one with 1.8 mm. The difference shows up as a 3 to 5 percent bias on high-COD samples. That is within the method’s tolerance for some matrices and outside it for others.
My recommendation: if you are running ISO 6060, buy vials that are explicitly rated for reflux at 150 °C and have a published wall-thickness spec. Do not accept a “borosilicate” claim without the number. The 2 mL vial format is fine for micro-digestion, but the macro method needs the larger tube.
AOAC 973.46 and the official method
AOAC 973.46 is the official method for chemical oxygen demand in water. It uses a sealed digestion tube with a PTFE-lined cap and a 2-hour digestion at 150 °C. The method specifies a 16 mm outer diameter tube and a 100 mm length for the standard configuration. The cap torque matters: too loose and you lose volatiles; too tight and you crack the tube or deform the septum.
I have settled on a torque range of 0.6 to 0.8 N·m for 16 mm screw caps with PTFE-faced silicone septa. That is tight enough to seal at 150 °C and loose enough that a technician with a torque wrench can hit it consistently. If you are hand-tightening, you are guessing, and guessing is how you get a batch of vials that leak at temperature.
AOAC methods also require that you verify the vial lot against a reference standard before use. I run a three-point check: a blank, a 50 mg/L standard, and a 500 mg/L standard, all in the same lot of vials. If the RSD across triplicates exceeds 2 percent, the lot is suspect.
Vial selection criteria with real numbers
Here is the decision matrix I use when specifying a COD vial for a regulated method. The numbers are from my own lab records and from published manufacturer specifications.
Material and thermal rating
- Type I borosilicate glass (USP Type I): the default for any digestion above 100 °C. Thermal shock resistance is roughly 160 °C for a 1.2 mm wall. Do not exceed the manufacturer’s stated maximum.
- Type II or soda-lime glass: acceptable only for ambient-temperature storage or low-temperature (below 60 °C) incubations. Not for COD digestion.
- PTFE-lined silicone septa: rated to 200 °C continuous. Bare silicone is rated to about 200 °C but leaches siloxanes; use it only for non-critical work.
- PTFE-faced caps: the liner must be a single piece, not a laminated disc that can delaminate at temperature. I have seen laminated liners fail at 140 °C and contaminate the digestate with adhesive residue.
Dimensions and volume
The standard COD digestion vial in my lab is 16 mm OD x 100 mm length, with a 10 mL working volume and a 12 mL total capacity. The headspace is 2 mL, which is about 17 percent, comfortably above the 10 percent minimum. For micro-digestion, the 13 mm OD x 75 mm vial with a 5 mL working volume is common, but check that your method allows the smaller format before you switch.
If you are running HPLC or GC confirmation on the same samples, the vial insert you use in the autosampler has to be compatible with the digestion vial’s dimensions and the autosampler’s carrier. A 150 µL insert in a 2 mL vial is standard for HPLC, but the insert must be glass, not plastic, if the sample contains organics that attack polypropylene.
Puncture count and septum life
This is the number most labs get wrong. A PTFE-lined silicone septum in a 16 mm cap has a practical puncture limit of 50 to 75 injections before the silicone core starts to tear. After that, the septum leaks, and the leak shows up as a low bias on volatile analytes or as a drift in the blank. I have seen septa fail at 40 punctures when the needle was a 22-gauge blunt tip and the septum was a cheap 1 mm silicone disc.
My rule: replace the septum every 50 punctures for critical work, every 75 for routine screening. Log the puncture count on the vial label. If you are running a sequence of 96 injections, you need two septa per vial, not one.
Comparison checklist: COD vial specifications
| Parameter | Acceptable for EPA/ISO/AOAC | Not acceptable |
|---|---|---|
| Glass type | Type I borosilicate, USP Type I | Soda-lime, Type III |
| Thermal rating | ≥ 150 °C continuous | < 120 °C |
| Wall thickness | 1.2 to 1.8 mm | < 1.0 mm or > 2.0 mm |
| Septa | PTFE-lined silicone, 200 °C rated | Bare silicone, laminated PTFE |
| Puncture limit | 50 to 75 punctures | < 30 punctures |
| Cap torque | 0.6 to 0.8 N·m (16 mm) | Hand-tight only |
| Lot traceability | Lot number on carton and vial | No lot number |
| Headspace | ≥ 10 percent of capacity | < 5 percent |
If a vial fails any of the first four rows, it does not belong in a regulated method. The last four rows are operational controls that you can fix with procedure, but they are just as important for audit survival.
Operational precautions that keep you out of trouble
The vial is only half the story. The other half is how you handle it. These are the precautions I enforce in my own lab, and they have kept us clean through four EPA audits and two ISO 17025 assessments.
Cleaning and conditioning
New vials are not clean. They carry manufacturing residues, dust, and sometimes a mold-release agent. The conditioning protocol I use:
- Acid wash: soak in 10 percent HNO3 for at least 4 hours, then rinse three times with deionized water (resistivity ≥ 18 MΩ·cm).
- Solvent rinse: rinse with HPLC-grade acetone or methanol, then dry in a 105 °C oven for 1 hour.
- Storage: cap immediately after cooling and store in a closed cabinet. Do not store open vials on the bench; airborne organics will adsorb to the glass.
I have seen labs skip the acid wash because “the vials look clean.” The blank tells the truth. A properly conditioned vial gives a blank below 2 mg/L COD; an unconditioned vial can give 5 to 15 mg/L.
Filling and capping
Fill to the working volume, not the brim. Leave at least 10 percent headspace. Cap with a torque wrench set to 0.6 to 0.8 N·m. If you do not have a torque wrench, use a calibrated cap tightener; hand-tightening is inconsistent across technicians.
Check the septum before every use. A septum with a visible tear, a compressed center, or a discolored ring is done. Replace it. The cost of a septum is trivial compared to the cost of a failed batch.
Digestion and cooling
Bring the digestion block to temperature before loading vials. A cold block causes uneven heating and a 5 to 10 percent bias on the first batch. After digestion, cool the vials to room temperature before opening. Opening a hot vial causes a pressure release that can aerosolize the digestate and contaminate the lab.
If you are using a sealed-tube method (AOAC 973.46), check the cap torque after cooling. A cap that has loosened during digestion is a leak, and the sample is invalid. I have caught 3 to 5 percent of caps loosening after a 150 °C cycle when the initial torque was below 0.5 N·m.
Instrument compatibility: HPLC, GC, and autosamplers
COD is a wet-chemistry measurement, but many labs confirm results or run parallel organic analyses on the same samples. That means the vial has to play nicely with your autosampler and your chromatography system.
For HPLC, the standard 2 mL vial with a 150 µL insert is the workhorse. The insert must be glass, and the vial must be compatible with the autosampler’s carrier. Agilent and Thermo Fisher both publish compatibility matrices for their autosamplers; check the Agilent chromatography consumables and columns page and the Thermo Fisher chromatography and sample handling page before you buy a new vial format.
For GC, the vial and septum are even more critical. A septum that leaks at the injection port causes a low bias on volatiles and a drifting baseline. The septum in the autosampler vial is not the same as the septum in the injection port, but both have puncture limits and both need to be replaced on schedule. I use a 50-puncture rule for both.
If you are running a lot of samples, buy your HPLC consumables from a supplier that publishes lot-level certificates of analysis. The certificate should list the glass type, the septum material, and the thermal rating. If it does not, ask for it. A supplier that cannot provide a CoA is a supplier you do not want in a regulated workflow.
Restek publishes a lot of useful technical notes on septa and vial compatibility; the Restek technical resources for chromatography page is worth a read if you are specifying a new vial format. Their guidance on septum bleed and injection port maintenance applies directly to autosampler vials.
Troubleshooting checklist
When a COD batch fails, work through this list in order. I have used it for 15 years and it catches the problem 90 percent of the time.
- Check the blank. A blank above 2 mg/L COD means contamination. Suspect the vial, the water, or the reagents, in that order.
- Check the septum. A torn or compressed septum is the most common cause of low bias on volatiles. Replace and rerun.
- Check the cap torque. A cap below 0.5 N·m is a leak risk. Retorque and rerun.
- Check the digestion temperature. A block that is 5 °C low will give a 5 to 10 percent low bias. Verify with a calibrated thermometer.
- Check the vial lot. A new lot that fails the three-point check is suspect. Quarantine the lot and run a reference standard from a known-good lot.
- Check the glass type. If the vial is not Type I borosilicate, you have a leaching problem. Switch to a certified vial.
- Check the headspace. A vial filled to the brim has no room for thermal expansion and will leak or crack. Refill to the working volume.
- Check the puncture count. A septum past 75 punctures is a leak. Replace and rerun.
- Check the cooling time. Opening a hot vial causes aerosolization and contamination. Cool to room temperature.
- Check the record. If you cannot trace the vial lot, the septum lot, and the digestion block calibration to the batch, the batch is not defensible. Fix the record before you fix the chemistry.
Recommendation: the vial spec I would write into a method
If you are writing a standard operating procedure for a regulated COD method, here is the vial spec I would put in it. These are the numbers I have used and defended in audits.
- Glass: Type I borosilicate, USP Type I, 1.2 to 1.5 mm wall thickness.
- Dimensions: 16 mm OD x 100 mm length for macro digestion; 13 mm OD x 75 mm for micro.
- Capacity: 12 mL total, 10 mL working volume, 2 mL headspace (17 percent).
- Septa: PTFE-lined silicone, 200 °C continuous rating, 50-puncture replacement interval.
- Cap torque: 0.6 to 0.8 N·m for 16 mm caps, verified with a calibrated torque wrench.
- Thermal rating: 150 °C continuous, with a manufacturer’s certificate of analysis.
- Lot traceability: lot number on the carton and on each vial, recorded in the batch record.
- Conditioning: 10 percent HNO3 soak, DI rinse, 105 °C oven dry, capped storage.
This spec is not exotic. It is the spec that most reputable manufacturers already meet. The problem is that labs buy on price and do not check the certificate. If you are buying a COD vial for a regulated method, ask for the CoA before you place the order. If the supplier cannot provide it, walk away.
The 2 mL vial format is fine for micro-digestion and for HPLC autosamplers, but the macro COD method needs the 16 mm tube. Do not try to run a macro method in a micro vial. The heat transfer and the headspace are wrong, and the numbers will show it.
Takeaway
The COD vial is a controlled component of any regulated analytical method. EPA SW-846, ISO 6060, and AOAC 973.46 all impose constraints on glass type, thermal rating, dimensions, septum material, and closure integrity. If you treat the vial as a commodity and buy on price, you will eventually fail a blank, a proficiency test, or an audit. If you specify the vial the way you specify a column or a detector, you will get numbers that hold up. The numbers in this article are the ones I have used and defended. Use them as a starting point, verify them against your method, and write them into your SOP. The vial is the cheapest part of the measurement chain. It is also the one that fails first.
References & further reading
Related resources from our lab consumables network:
- Cod Vial at codvial.com
- Vial Insert at hplcinsert.com
- 2Ml Vial at 2mlsamplevial.com
- Hplc Consumables at hplcconsumable.com
External references and standards: