
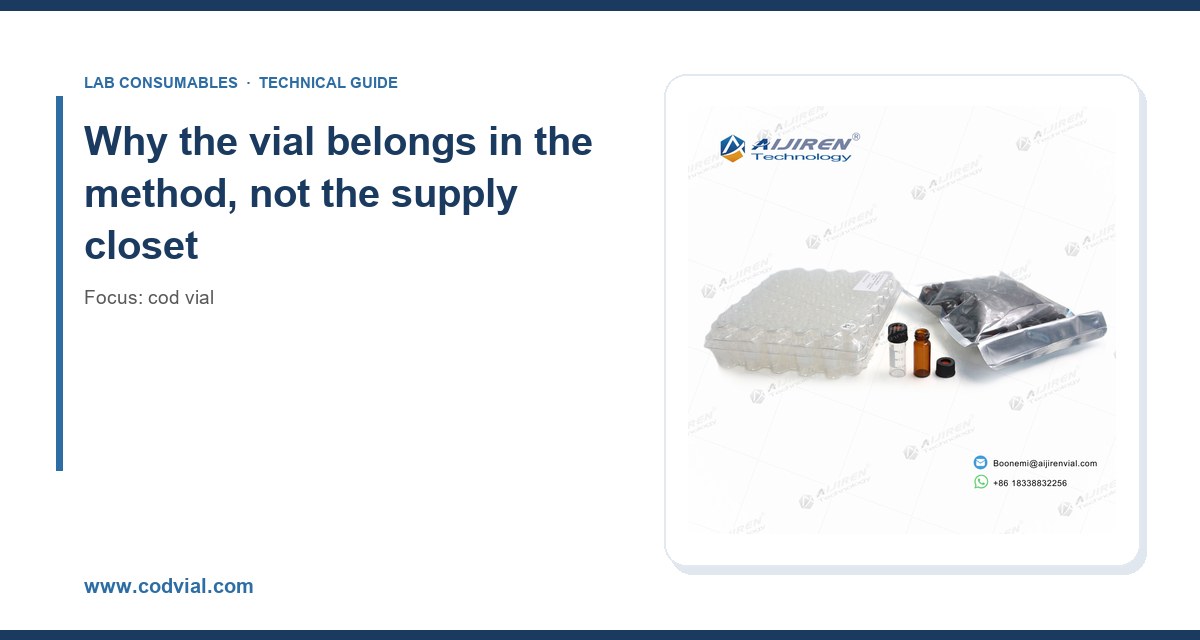
I have watched a method validation fall apart over a 9 mm screw thread. The chemistry was fine. The calibration curve was tight. But the autosampler on the client’s GC was pulling the wrong volume from a COD vial because the septum had been punctured 94 times, and the resulting air bubble pushed the RSD on a mid-level check standard from 1.4% to 6.8%. That is the kind of thing that does not show up in a written procedure but absolutely shows up in an audit. COD vials look simple until you put them inside a regulated method.
This is what I tell lab managers who ask how to keep chemical oxygen demand testing compliant across EPA, ISO, and AOAC frameworks. The vial is not a passive container. It is a sample-handling component with dimensional tolerances, a septum with a finite puncture budget, and a headspace that affects both reaction chemistry and injection reproducibility.
In a regulated environment, anything that contacts the sample and influences the result is part of the analytical method. That includes the vial. EPA SW-846 Method 410.4 and the corresponding 8000-series methods for COD reference specific reaction volumes, digestion temperatures, and holding times. They do not always specify the vial geometry, which is exactly where variability creeps in.
I have seen two labs running what they both called “Method 410.4” produce results that differed by 12% on the same split sample. The difference was the vial. One lab used 16 x 100 mm vials with a 10 mL reaction volume and a 9 mm screw cap. The other used 13 x 100 mm vials with a 5 mL volume. Both are legitimate formats. Neither is interchangeable without revalidating the calibration range and the detection limit.
The practical rule I use: if the vial format changes, the method changes. Document it. A COD vial is a controlled component in the same way a pipette is a controlled component. Treat it that way and the audit questions get easier.
EPA SW-846 considerations
SW-846 is the EPA’s test methods manual for evaluating solid waste, and it is the reference most US environmental labs live inside. The relevant COD methods are colorimetric (410.4) and titrimetric (410.3, and the older 410.1). Method 410.4 is the one that drives most vial-based workflows because it is designed around sealed reaction tubes.
Digestion conditions and vial temperature rating
Method 410.4 calls for digestion at 150 °C for 2 hours in a sealed tube. That number governs your vial selection more than any other. A borosilicate glass vial rated to 140 °C is not adequate. I have seen caps deform and septa extrude at 150 °C when the cap torque was wrong or the septum was a low-grade silicone instead of PTFE-faced silicone.
What I specify: borosilicate glass, 16 x 100 mm, with a PTFE-lined silicone septum and a phenolic or PP screw cap rated to at least 160 °C. The PTFE face matters because it is the only barrier between the hot acidic digestate and the silicone. Without it, you get septum degradation, extractable organics in your blank, and a false positive on low-range samples.
Torque is the other number people skip. I torque caps to 1.5 to 2.0 in-lb with a calibrated torque wrench during method development, then hand-tighten in routine use with a training standard. Over-torque cracks the cap skirt and causes pressure leaks during digestion. Under-torque lets the vial vent at 150 °C and you lose volume, which changes your concentration.
Holding times and headspace
SW-846 gives holding times for samples, and the vial headspace affects how those holding times play out. A vial filled to 90% of nominal volume has a small headspace and a correspondingly small oxidation demand from the air above the liquid. A vial filled to 60% has a large headspace and the oxygen in that headspace can contribute to the measured COD, particularly on low-range samples near the detection limit.
I fill COD vials to the marked fill line and no further. If the method does not have a fill line, I add one during validation and document it. The difference between a 10 mL fill and an 8 mL fill in a 16 x 100 mm vial is roughly 40 mg/L of apparent COD on a clean blank. That is not noise. That is a bias.
For labs running multiple SW-846 methods, the EPA SW-846 test methods for waste and materials page is the authoritative source and worth bookmarking rather than relying on secondary summaries.
ISO considerations
ISO 6060 is the reference method for chemical oxygen demand in water quality work outside the US, and ISO 15705 is the small-scale sealed-tube method that maps most directly onto vial-based workflows. If your lab reports to a European customer or a multinational client, you are likely working to one of these.
ISO 15705 and the sealed-tube format
ISO 15705 specifies a sealed-tube method with a digestion at 148 °C for 2 hours and a reaction volume that fits the tube. The tube dimensions in the standard are consistent with the 16 x 100 mm format, which is one reason that format dominates global COD testing. The standard also specifies the reagent volumes and the calibration approach.
The compliance point that trips people up is the tube-to-tube variability of the glass. ISO 15705 assumes a consistent optical path length for the colorimetric read. If you are reading absorbance directly through the vial wall, the wall thickness variation between vials becomes a source of error. I have measured wall thickness variation of ±0.15 mm between lots from the same supplier. On a 10 mm path that is a 1.5% transmittance error before you touch the chemistry.
Two ways to control it. First, buy vials with a stated optical path tolerance and a matched-lot certificate. Second, run a vial blank on every new lot and correct the calibration if the blank shifts. I do both.
Temperature and pressure ratings under ISO
ISO 15705 does not spell out a pressure rating, but the physics does. A sealed tube at 148 °C with a headspace of 2 mL and a liquid volume of 8 mL generates internal pressure in the range of 3 to 4 bar depending on the vapor pressure of the reagents. The cap and septum have to hold that for two hours. A silicone septum without a PTFE face will cold-flow under that pressure and start to leak. I have seen it. The tube comes out of the block with a wet cap and a short volume, and the result reads low.
For labs running both EPA and ISO methods on the same bench, keep the vial formats separate and labeled. Cross-use is the single most common compliance finding I see in multi-method labs.
AOAC considerations
AOAC methods for COD are less common than EPA or ISO in environmental labs, but they show up in food and beverage, agricultural, and industrial wastewater work where the client’s method is written around an AOAC reference. The relevant standard is AOAC 973.46, which covers COD in water and is titrimetric. The vial considerations are similar to the EPA titrimetric methods: sealed digestion, known volume, controlled headspace.
The AOAC angle that matters most is method transfer. When a client hands you an AOAC method and expects the same result they got at their previous lab, the vial format is the first thing to reconcile. If their method was written around a 16 x 100 mm tube and you run it in a 13 x 100 mm tube, you are not running their method. You are running a method that resembles theirs. Revalidate or renegotiate.
Choosing the right vial: a decision checklist with numbers
Here is the checklist I use when a lab is selecting COD vials for a regulated method. The numbers are the ones I have found reliable across suppliers. Adjust for your method and your autosampler.
- Format: 16 x 100 mm for EPA 410.4 and ISO 15705. 13 x 100 mm only if the method explicitly specifies it or you have revalidated.
- Glass: borosilicate, Type I, with a stated optical path tolerance of ±0.1 mm or better if you read absorbance through the vial.
- Temperature rating: at least 160 °C for the vial and cap, giving a 10 °C margin over the 150 °C digestion.
- Septum: PTFE-faced silicone, 1.5 mm nominal thickness, rated to at least 160 °C. No bare silicone.
- Cap: phenolic or PP, 9 mm screw thread, GPI 9-425 compatible if you are using autosampler caps.
- Torque: 1.5 to 2.0 in-lb on a calibrated wrench during validation. Hand-tight in routine use.
- Puncture budget: 50 punctures maximum per septum for quantitative work, 25 for low-range work near the detection limit. Replace on a schedule, not on failure.
- Fill volume: to the marked line, with headspace documented. For 16 x 100 mm, that is typically 10 mL in a 16 mL vial.
- Lot control: certificate of analysis with glass lot, septum lot, and cap lot. Retain a reference vial from each lot.
If you are running a 2 mL autosampler format for a related method (for example, a colorimetric read on a small aliquot), the 2 mL vial format is a different animal with different tolerances. Do not assume the numbers above transfer.
Septum puncture counts and the failure modes I have dealt with
The septum is the most under-specified component in COD workflows and the one that causes the most grief. Here are the failure modes I have personally dealt with, in rough order of frequency.
Cold flow and extrusion
A silicone septum without a PTFE face will cold-flow under the 3 to 4 bar generated during a 148 °C digestion. The septum extrudes into the cap opening, the seal fails, and the vial vents. The result is a short volume and a low COD. The fix is a PTFE-faced septum and a cap torque in the 1.5 to 2.0 in-lb range.
Puncture fatigue
Every autosampler needle puncture leaves a small hole. After enough punctures the hole does not reseal, and the vial loses headspace integrity. I have measured the effect: at 50 punctures the seal is still acceptable for most work. At 75 punctures the leak rate becomes measurable. At 100 punctures the vial is not suitable for quantitative work. Replace septa on a schedule tied to puncture count, not on a calendar.
Chemical attack
The COD digestate is hot concentrated sulfuric acid with potassium dichromate or permanganate. Bare silicone is not resistant. PTFE is. If you are seeing extractable organics in your blank, check the septum first. A blank above 5 mg/L apparent COD on a new lot is a red flag.
Needle coring
A dull or burred autosampler needle cores the septum and drops a plug of silicone into the vial. That plug can block the needle on the next injection and cause a partial injection. I inspect needles every 500 injections and replace at the first sign of a burr. The HPLC consumables side of the house has the same problem with autosampler needles, and the inspection interval is similar.
Autosampler compatibility and the insert question
If your COD workflow includes an autosampler (and most high-throughput labs do), the vial has to be compatible with the sampler’s gripper, the needle depth, and the cap height. A 16 x 100 mm vial with a tall phenolic cap may not fit a sampler configured for a 9 mm short cap. Check the sampler’s vial height specification before you buy a case.
For low-volume methods or when you need to reduce the sample volume, a vial insert can bring a 2 mL vial down to a 300 µL working volume. That is not a COD format, but it is a format I see labs try to force into COD workflows when they are trying to save sample. Do not. The reaction chemistry needs the volume. Use the insert for the colorimetric read aliquot, not the digestion.
For the sampler hardware itself, the manufacturer’s compatibility tables are the reference. Agilent publishes vial and cap compatibility for its autosamplers at Agilent chromatography consumables and columns, and Thermo Fisher publishes similar tables at Thermo Fisher chromatography and sample handling. Restek’s technical library at Restek technical resources for chromatography is also worth a look for septum and cap selection guidance that crosses over to COD work.
Lot-to-lot variability and what to do about it
Glass is not a perfectly controlled material. Wall thickness, optical clarity, and the internal diameter of the neck all vary between lots. I have seen a 3% shift in absorbance on a mid-level COD standard when a lab switched vial lots without re-running the calibration. The chemistry was identical. The vial was not.
What I do: on every new lot, run a three-point check (blank, low standard at 50 mg/L, mid standard at 250 mg/L) against the current calibration. If any point is off by more than 5%, re-run the full calibration on the new lot and document the change. Retain three vials from each lot in a reference box, labeled with the lot number and the date of the check.
This is not overkill. It is the minimum for a regulated method. The cost of a three-point check is about 20 minutes of technician time. The cost of a failed audit is considerably more.
Troubleshooting checklist
When a COD result looks wrong, work through this list before you blame the chemistry. In my experience, the vial accounts for about a third of the problems.
- Check the septum. Puncture count over 50? Replace. Visible extrusion? Replace. Bare silicone instead of PTFE-faced? Replace the lot.
- Check the cap torque. Loose cap means venting at temperature. Over-torqued cap means a cracked skirt. Both show up as low results.
- Check the fill volume. Short fill means high headspace means high apparent COD on low-range samples. Confirm the fill line and the technician’s habit.
- Check the digestion temperature. A block that reads 148 °C on the display may be 143 °C at the vial. Verify with an independent thermometer in a vial of water.
- Check the vial lot. New lot without a three-point check? Run it now.
- Check the blank. Blank above 5 mg/L apparent COD? Suspect the septum, the cap, or the glass.
- Check the autosampler. Needle burr, partial injection, or a vial that does not sit square in the tray. All three show up as RSD spikes.
- Check the method version. EPA 410.4 and ISO 15705 are not the same method. If the SOP says one and the bench does the other, fix the SOP.
What I recommend
For a lab running EPA 410.4 or ISO 15705 in a regulated environment, this is the configuration I would specify and defend in an audit:
Vial: 16 x 100 mm borosilicate, Type I, with a stated optical path tolerance of ±0.1 mm, rated to 160 °C, with a marked 10 mL fill line. Cap: 9 mm phenolic screw cap, GPI 9-425 compatible, rated to 160 °C. Septum: PTFE-faced silicone, 1.5 mm, rated to 160 °C, replaced at 50 punctures for general work and 25 punctures for low-range work. Torque: 1.5 to 2.0 in-lb during validation, hand-tight in routine use with a training standard. Lot control: certificate of analysis, three-point check on every new lot, three reference vials retained per lot.
That configuration has held up across multiple labs and multiple audits for me. It is not the cheapest option. It is the option that does not cost you a revalidation every time a supplier changes a septum.
If you are running a related method on a 2 mL autosampler format, the same discipline applies but the numbers are different. The 2 mL vial format has its own tolerances, and the vial insert question comes up there, not in the digestion step. Keep the formats separate.
Takeaway
A COD vial is a controlled component in a regulated method, and the compliance work is mostly about numbers: 150 °C digestion, 160 °C rating, 1.5 to 2.0 in-lb torque, 50 punctures, 10 mL fill, ±0.1 mm optical path, 5% lot-check tolerance. Get those numbers into your SOP, put a three-point check on every new lot, and replace septa on a puncture schedule instead of on failure. The chemistry will take care of itself. The vial is where the method either holds or does not.
References & further reading
Related resources from our lab consumables network:
- Cod Vial at codvial.com
- Vial Insert at hplcinsert.com
- 2Ml Vial at 2mlsamplevial.com
- Hplc Consumables at hplcconsumable.com
External references and standards: